In a packed exhibition hall, your trade show banner is your secret weapon. It’s not just a backdrop; it’s your silent salesperson, working every second to cut through the noise, broadcast your value, and pull in qualified leads. Nailing your banner strategy is the first step toward a successful event. A study by Exhibit Surveys, Inc. found that 78% of trade show attendees are influenced by the look of a booth, making your banner's first impression absolutely critical.
Why Your Banner Is Your Booth's MVP
Think of the chaos of a trade show floor. Amidst the noise and movement, your banner is your Most Valuable Player. It’s your first, best chance to make an impression. You only have a few seconds to snag the attention of someone walking by, so your design and message have to be sharp, clear, and impossible to ignore. It's the visual handshake that invites people into your space.
A great banner does more than just show off your logo. It actually pre-qualifies prospects before your team even says hello. By spelling out what you do and who you help, it acts as a magnet for the right people and gently filters out those who aren’t a good fit. This saves your team a ton of time and energy, freeing them up for meaningful conversations with high-potential leads.
The Strategic Value of Visuals
Investing in a professional trade show banner is a direct investment in your event's ROI. This is more true than ever as the industry continues its powerful rebound. In fact, the trade show market has cemented itself as the second-largest source of B2B revenue in the United States. With average booth costs hitting anywhere from $10,000 to $30,000, every single piece of your display has to earn its keep.
That level of spending puts a spotlight on just how critical eye-catching displays are. A successful example is Mailchimp, whose vibrant, simple, and quirky banners at events helped establish their brand as approachable and user-friendly, attracting thousands of small business owners. It's time to stop thinking of your banner as just another expense and start seeing it as a core strategic asset. It's the visual anchor for your entire booth, setting the tone for every conversation that follows.
A well-designed banner is your 24/7 brand ambassador on the show floor. It keeps working even when your team is swamped, ensuring your key message is always out there making an impact.
For startups and smaller businesses, a powerful banner completely levels the playing field. It lets you compete visually with bigger, more established companies, giving you a chance to tell your story instantly and memorably. Ready to make your banner work harder for you? Contact us to map out a strategy that turns your display into a lead-generation machine.
Choosing the Right Banner for Your Brand
Picking the right trade show banner isn’t just about making your booth look good; it’s about choosing the right tool for the job. Not all banners are created equal, and the best fit depends entirely on your specific goals, your team’s capabilities, and your budget. Think of it like this: you wouldn’t take a sports car on a rugged camping trip.
Likewise, the banner that works wonders for a permanent showroom could be a logistical nightmare for a team that’s constantly on the road. With research from the Center for Exhibition Industry Research (CEIR) showing that 81% of trade show attendees have buying authority, your banner is your first pitch to a decision-maker, and its quality matters.
This diagram helps frame the conversation: is your banner an active, silent salesperson, or is it just taking up space?
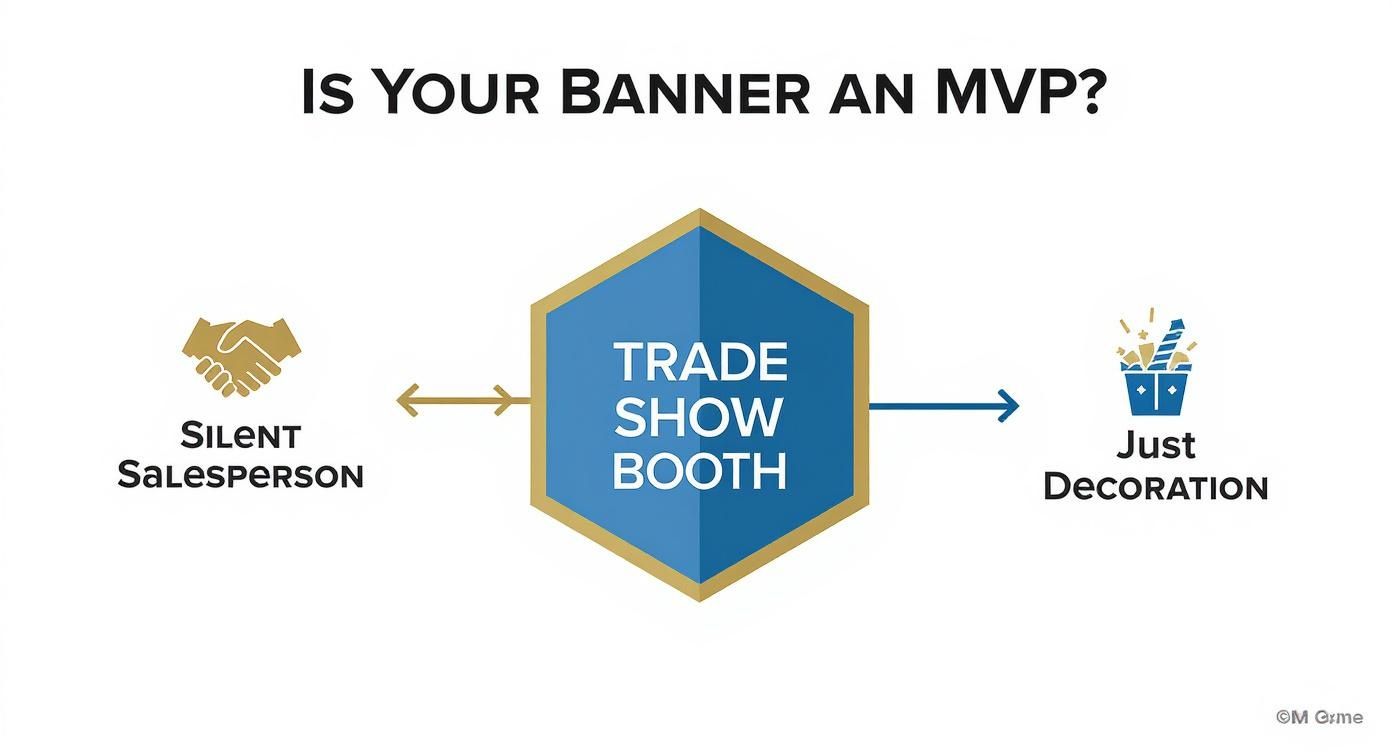
The takeaway here is that an effective banner does more than decorate—it actively engages and qualifies potential customers before your sales team even says hello.
Matching Banner Type To Your Needs
To make the right call, let’s break down the most common options and where they really shine. Each one offers a distinct blend of convenience, durability, and visual impact.
-
Retractable Banners: These are the undisputed road warriors of the trade show world. Perfect for startups and small businesses needing maximum portability, a retractable banner can be set up by one person in under two minutes. Their compact nature makes transport and storage a breeze, offering unmatched convenience for a jam-packed event schedule.
-
Fabric Banners: When you need a premium, professional look, fabric is often the top choice. Its matte finish kills glare from harsh event lighting, ensuring your message is always visible and looks fantastic in photos. This makes it a go-to option for media walls or booth backdrops where a high-end feel is essential to your brand’s image.
-
Vinyl Banners: If durability is the name of the game, vinyl delivers. It’s tough, weather-resistant, and easy to clean, making it a reliable workhorse for both indoor and outdoor events. If your banner has to withstand high traffic, frequent handling, or the occasional coffee spill, vinyl’s rugged construction is a smart, long-lasting investment.
"Your banner choice directly reflects your operational readiness. A startup valuing speed should lean toward retractable options, while a brand building an immersive experience might invest in a seamless fabric wall. The material tells a story about your company's priorities."
To help you weigh the pros and cons at a glance, we've put together this quick comparison guide.
Trade Show Banner Comparison Guide
A side-by-side comparison of the most common trade show banner types to help you choose the best fit for your needs.
| Banner Type | Best For | Pros | Cons | Average Cost (CAD) |
|---|---|---|---|---|
| Retractable | Fast setups, frequent travel, small teams | Highly portable, sets up in minutes, self-contained | Can be less stable, smaller display area | $150 – $400 |
| Fabric | Premium, high-end look, photo backdrops | Glare-free, vibrant colour, machine washable | Wrinkles easily, higher initial cost | $250 – $700 |
| Vinyl | Durability, outdoor use, high-traffic areas | Weather-resistant, easy to clean, very durable | Can glare under lights, heavier, potential for creases | $100 – $500 |
This table should give you a solid starting point for aligning your budget and operational needs with the right material.
Making The Final Decision
Ultimately, your banner choice is an extension of your overall event strategy and ties directly into the branding of services you offer. A tech company selling a sleek SaaS product will benefit from the sharp, modern look of a fabric display. In contrast, a business in the construction industry might prefer the robust, no-nonsense appeal of a heavy-duty vinyl banner.
Don’t forget to consider your team’s resources for setup and transport. If you have a small team, the sheer simplicity of a retractable banner is a massive advantage. If you have a larger booth and more hands on deck, a more complex tension fabric system can create a stunning, seamless backdrop that makes a huge impact. Need help deciding? Contact us for a personalized recommendation based on your event goals.
Designing a Banner That Stops Traffic
Great design isn’t just about making things look good; it's a strategic tool that works tirelessly for your brand. In the whirlwind of an exhibition hall, your trade show banner has just a few seconds to grab someone's attention and tell them why they should care. The best designs are built on simple principles that stop traffic and start conversations.
This all starts with a crystal-clear understanding of your goals. Before a single pixel gets placed, you need a solid plan. If you're looking to streamline this initial phase, our guide on crafting a perfect design project brief provides invaluable structure, making sure your creative team is perfectly aligned with your business objectives from day one.
The Five-Second Rule
Picture an attendee walking down a crowded aisle, bombarded by sights and sounds. You have roughly five seconds to catch their eye before they're gone. This is the ‘Five-Second Rule’ of trade show design, and it demands a "less is more" approach. Your banner needs to answer one question instantly: "What's in it for me?"
To pull this off, you need a single, powerful headline. Don't list every feature you have. Instead, highlight the one big benefit or solve the major pain point that keeps your ideal customer up at night. A great headline acts as a hook, giving people a compelling reason to stop and find out more.
A classic success story is Slack's early messaging: "Be less busy." In just three words, it identified a universal pain point and offered a clear solution. That kind of sharp, punchy clarity is what makes a banner work, and it contributed to their meteoric rise by making their value proposition instantly understandable to anyone walking by their booth.
Creating a Clear Visual Hierarchy
Once you have their attention, you need to guide their eyes. A strong visual hierarchy tells attendees what to look at first, second, and third. This isn't just about aesthetics; it's about making your message easy to absorb at a glance.
- Top-Tier Placement: Your logo and main headline belong at eye-level, which is typically the top third of the banner. This is prime real estate that gets noticed first.
- High-Contrast Colours: Use bold, high-contrast colours to make key elements pop. A bright call-to-action or a striking image can create a focal point and draw the eye. Research shows that colour can improve brand recognition by up to 80%, making it a powerful tool for recall.
- Strategic Use of Space: Don't be afraid of empty space—what designers call negative space. A cluttered banner is an ignored banner. White space lets your key messages breathe, improving readability and making your design feel more professional and confident.
Your banner's design should be an effortless visual journey. If an attendee has to work to understand your message, you've already lost them. Prioritize clarity over complexity, every single time.
Ultimately, a banner that stops traffic is one that communicates with purpose. By embracing a clear hierarchy, a powerful headline, and clean visuals, you create a lead-generation machine that works for you throughout the entire event. Ready to design a banner that truly performs? Contact us to collaborate with our design experts.
Getting Your Print Files Right the First Time
Let’s talk about print specs. I know, it sounds technical and maybe a little dry, but getting this part right is the difference between a crisp, professional trade show banner and a fuzzy, expensive mistake. It’s a shocking statistic, but up to 42% of print jobs hit delays or need a complete do-over because of file errors.
Think of it like this: your banner design is a beautiful cake you’ve spent hours decorating. The print specs are the baking instructions. If you get the temperature or timing wrong, all that beautiful work goes to waste. We’re going to nail the recipe so your banner comes out perfect.
Understanding the Safe Zone
To make sure no critical info gets chopped off during printing, we work with a simple three-part system. Getting your head around this is your best defense against print-day surprises.
- Trim Line: This is the final, finished edge of your banner. It’s where the cutting machine is supposed to slice. Think of it as the outline of your perfectly served slice of cake.
- Bleed Area: This is a little extra bit of your background colour or image that extends beyond the trim line. If the cutting machine is off by a hair, this bleed ensures you don’t get an ugly, unprofessional white sliver along the edge. It’s your safety net.
- Safety Margin: This is an inner boundary, a "safe zone" inside the trim line. All your crucial stuff—your logo, your headline, your contact info—needs to live comfortably inside this area. Anything outside of it is at risk of getting trimmed away.
Getting your bleed and safety margins set up correctly from the start gives the printer the wiggle room they need for a clean, professional finish. It’s a tiny step in the design phase that prevents a massive headache later.
Key Technical Specifications
Beyond the margins, a few other tech specs are non-negotiable for a flawless print. Get these right, and you’ll save a ton of time and ensure your banner looks as sharp as your brand.
First up is resolution, which we measure in Dots Per Inch (DPI). For something as large as a trade show banner, you need your images and the entire design file set to at least 150 DPI at its final print size. Anything less, and you’ll end up with a blurry, pixelated mess that just screams amateur.
Next is the colour mode. Your screen uses an RGB (Red, Green, Blue) model to display colours. Professional printers, however, use a CMYK (Cyan, Magenta, Yellow, Black) ink process. If you design in RGB, the colours will shift—sometimes dramatically—when converted for print. Always start your design file in CMYK mode from the get-go to ensure what you see is what you get.
Nailing these details is essential for a banner that does your company justice. If you’re ever unsure about prepping your files, just contact us. We’ll make sure your design is perfectly dialled in for a stunning result.
Mastering Banner Logistics for a Stress-Free Show
A brilliant trade show banner is only as good as its condition on arrival. Getting the practical stuff right—transport, assembly, and care—is what separates a smooth, professional experience from a frantic scramble on the exhibition floor. Overlooking these details is a common mistake, and it's a costly one.

The first step is matching the banner to your team’s real-world capacity. A solo marketer juggling multiple shows a year has very different needs than a large team building an immersive booth from scratch. In fact, research from Skyline Exhibits shows that exhibitors can save up to 30% on hidden costs like shipping and labour just by choosing displays that fit their operational limits.
Think of the small tech startup that ditched its complex, multi-panel fabric wall for three high-quality retractable banners. Their setup time plummeted from over an hour to less than ten minutes. That simple logistical switch freed up their lone salesperson to network instead of wrestling with poles and clips, directly leading to a 40% increase in qualified conversations and a higher lead count at their next event.
Your Pre-Show Logistics Checklist
A calm, collected setup starts long before you ever step foot in the venue. Proper transport and storage aren't just suggestions; they're non-negotiable for protecting your investment.
- Invest in a Hard Case: If you plan to reuse a banner even once, a durable, padded hard-shell case is essential. It’s your best defence against the dents, tears, and moisture that happen during shipping and travel.
- Roll, Don't Fold: This is a golden rule. Always roll vinyl and fabric banners, ideally with the printed side facing out. Folding creates permanent, ugly creases that instantly cheapen your brand’s appearance.
- Pack an Essentials Kit: Don't get caught empty-handed. Your kit should include cleaning cloths (microfibre for fabric, gentle wipes for vinyl), a few extra hardware parts, and even a small handheld steamer for tackling fabric wrinkles on the fly.
"The moment your banner looks worn, creased, or damaged, it stops being an asset and becomes a liability. Proper care and transport aren't just about maintenance; they are about preserving your brand's professional image."
On-Site Setup and Post-Show Care
Once you’re on-site, a quick inspection is your first move. Unpack your banner as soon as you can, especially fabric displays, to let any wrinkles relax and fall out.
After the show ends, take a few minutes to clean your banner according to its material specs before packing it away. A banner that’s clean and properly stored is ready for the next event, saving you time, stress, and money year after year.
Mastering these simple steps ensures your trade show banner remains a powerful, professional tool for your business. Need help choosing a banner that fits your team's workflow and budget? Contact us, and we'll help you build a stress-free and effective event strategy.
Measuring Banner ROI and Planning Your Budget
Let's be honest, a trade show banner is an investment, not just an expense. The real trick is connecting that investment directly to your bottom line. It isn't just a pretty backdrop; it's a tool designed to do a job. With the right approach, you can actually measure its impact and prove its worth.
When it comes to budgeting, it helps to know the landscape. A simple, portable retractable banner might run you between $150 and $400. Stepping up to a premium, glare-free fabric banner? You're probably looking at $250 to over $700. Knowing these numbers is a good start, but the real goal is to generate a return that makes this initial cost look like pocket change.
Tracking Your Banner's Performance
So, how do you know if your banner is actually pulling its weight? You track how it influences what attendees do. You don't need a complex analytics setup; a few simple, direct methods can give you surprisingly powerful data on how well your banner drives conversations and qualified leads.
Here are a few proven ways to measure its impact:
- Unique QR Codes: This is the easiest win. Slap a QR code on your banner that links to a show-specific landing page, a demo sign-up, or an exclusive offer. It creates a direct, trackable line from a glance at your banner to a click on your website. No guesswork needed.
- Verbal Mentions: Train your booth staff to ask one simple question: "What brought you over to our booth today?" Tallying every response that mentions the banner's headline or visuals gives you solid qualitative data on what's resonating.
- Lead Source Tracking: Make it standard practice to note what caught a lead's eye. A simple checkbox for "Banner Message" in your CRM or lead capture form can quickly reveal how many conversations started because of your display.
Measuring your return on investment transforms your banner from a piece of hardware into a quantifiable marketing asset. Data-driven insights are essential for justifying the cost and refining your approach for future events.
One of our B2B SaaS clients saw a 25% jump in qualified booth traffic after we added a QR code with a compelling offer to their banner. That simple tweak allowed them to directly attribute dozens of high-value leads to their display, resulting in a 5x return on their event marketing spend. If you want to go deeper, you can check out our complete guide to understanding ROI in B2B marketing.
Ready to design a banner that delivers measurable results and justifies its investment? Contact us for professional guidance on your next project.
Your Top Questions About Trade Show Banners, Answered
If you're gearing up for an event, you probably have a few questions floating around about your booth's most important asset. Let's tackle some of the most common ones we hear from clients to help you plan with confidence.
How Long Does A Trade Show Banner Last?
The real answer? It depends entirely on the material and how you treat it. A well-cared-for vinyl or fabric banner—one that’s always packed in its case and stored properly—can easily see you through dozens of shows over 3-5 years. Think of it like any other piece of critical equipment; a little care goes a long way in protecting your investment.
What Is The Most Popular Banner Size?
For retractable banners, the industry standard is 33 inches wide by 80 inches tall. It’s the Goldilocks of sizes for a standard 10×10 foot booth—big enough to grab attention from across the aisle but not so large it swallows your space. This gives you plenty of real estate for a punchy headline, essential visuals, and your contact info without feeling cluttered.
Research from the Center for Exhibition Industry Research shows that booths with large, high-quality graphics can pull in over 20% more traffic. It’s a powerful reminder that your banner isn't just a sign; it's a magnet for potential leads, and its physical presence matters just as much as its message.
Getting your banner right is one of the most important steps in preparing for a successful show. If you have more questions, don't hesitate to reach out. Contact us, and our team of experts will be happy to help.
Ready to create a banner that stops traffic and drives results? B2Better offers expert marketing strategy and execution to ensure your event presence is powerful and profitable. Contact us today to get started.